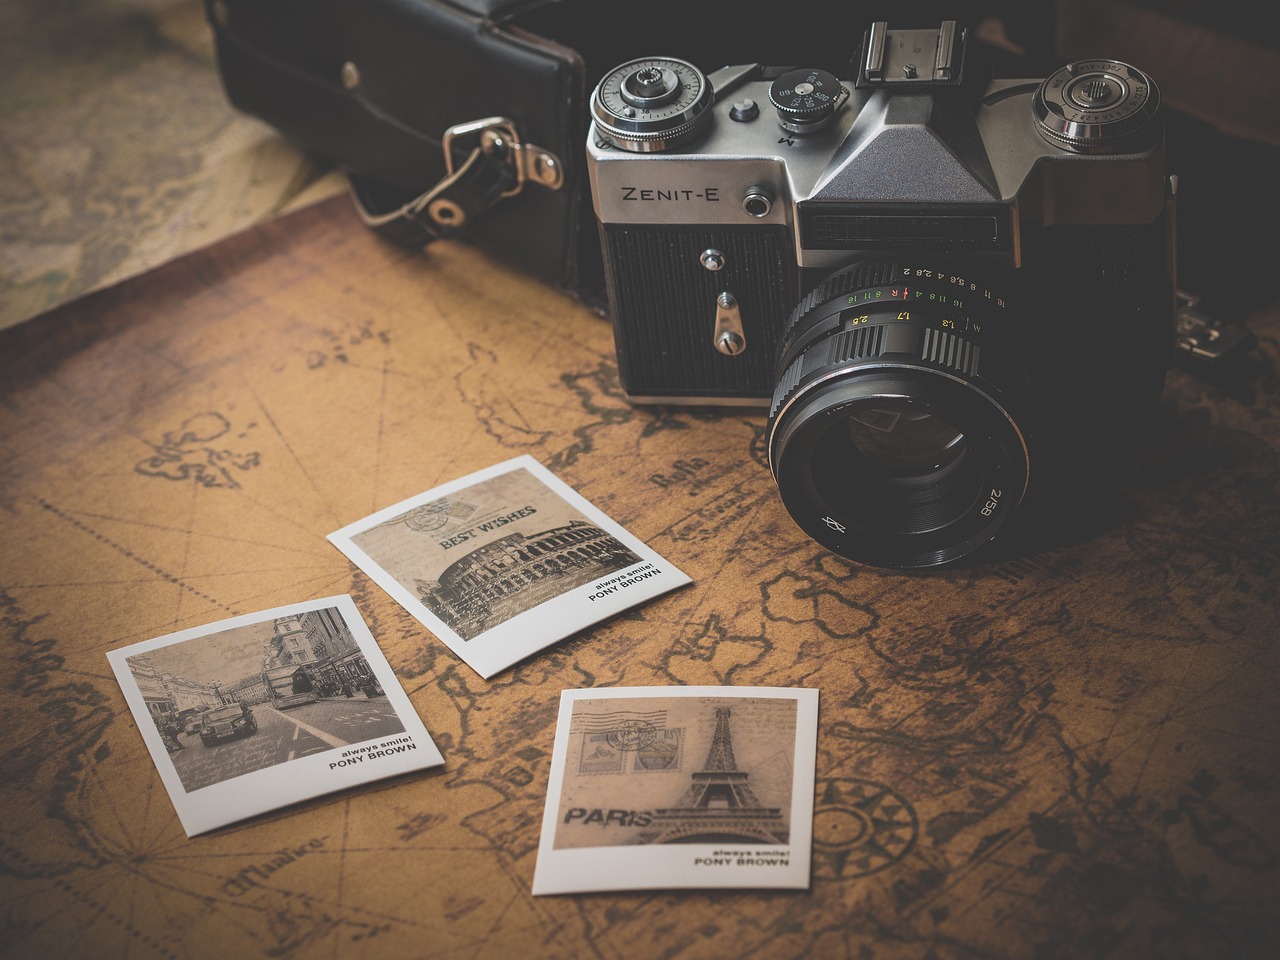
Gone are the days when Photoshop was a dirty word, and the process was done by magazines who wanted to hoodwink their readers. Almost every photo you see has been digitally altered, and it doesn’t matter whether it’s online or in print. The simple act of adding a filter or correcting the background light is considered photo editing. Whether you are a content creator, a photographer, or someone who posts on social media, let us give you a crash course on how to edit your photos successfully.
Editing Program
The first step is downloading or installing a reliable editing program like Adobe Photoshop, Lightroom Classic, and Capture One Pro. You can use other programs that should give you the same results. Adobe programs work on a subscription basis, but there are some free apps you can use. Most laptops and smartphones also have an editing app pre-installed. You can now begin the editing process.
Clean and Crop
Some photographers believe the format of the photo will have an impact on the editing process. This is true to a certain extent, and it’s easy to over-edit a JPEG versus a RAW format photograph. In this step, you can crop out anything you don’t want to be seen in the final photo. If you took the picture outdoors, you can also spot-clean the image using a lens brush. You can also straighten lines if your idea has a lot of lines. Suppose your photos go into a physical photo album or a photo book maker. Then, you need to make sure they are the correct size.
Correct Exposure
The exposure is the picture’s brightness; sometimes, the lighting may fail you, making your photo dark or too bright. You can adjust the cursor to the correct brightness.
Adjust White Balance
White balance refers to the overall colour of your photo, so if your image has a colour effect you don’t like, you can change it. Regarding white balance, the JPEG vs RAW issue comes into play because JPEG formats have fewer options than RAW formats. Some programs offer a temperature and tint option, which can help emphasise the natural elements of the photo.
Contrast
Contrast adjustment changes the darks and lights in your photos; if you want something dark and tense, you will move to a higher contrast. RAW files have limited contrast, so you might have to play with the cursor a lot more when editing those files. Some apps also have shadows and highlights you can use to fine-tune your contrast. You can also adjust the saturation while adjusting the contrast as well.
Final Touches
You can add more sharpening to your photos, especially if you want to post online. The sharpening makes your images clearer.
Adobe Lightroom has finishing tools in the Detail or Effects window where you can play around with the frame of the images.
You can also smooth out your final images and remove red-eye and torn clothing.

Lastly
Photo editing is not complex, and it’s also fun to do. More features are available on each program. Take time to play around with them and find your favourite. Don’t forget to let your personality and design ability shine through with your editing journey.


